
After learning what you can do with Filter and Lux and you’ve up you’re #InstagramFeedGoals but you still want more. You can always do more and that’s what Instagram has to offer. This tools may not be as well-known as filters but it will surely help you to achieve your #Instagramfamous dream.
[adrotate banner=”20″]
Contents
Checking out the Editing tools
1. Tap ![]() to launch the app.
to launch the app.
2. Tap the “add new photo” icon.

- Snap a new photo, or record a video, or go to your library.

3. Tap “Edit” and you will find more ways to enhance your photo.
This option allows you to adjust your photo’s size and perspective, brightness, contrast, colors, structure, etc.

- Below your photo, you will find the different tools. Swipe left to check them all out.

Adjust
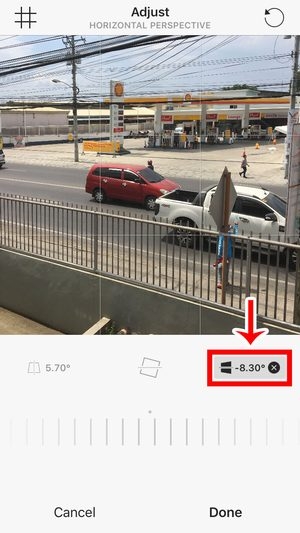
This tool allows you to rotate your photo. You may also zoom in or out and straighten to end up with a better perspective. You can adjust the horizontal and vertical perspective of your photo, too.

- Swipe left or right until you achieve the perfect perspective.
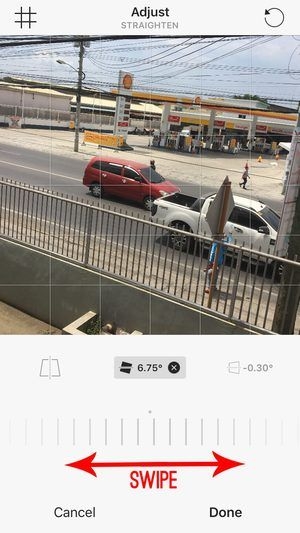
Straighten

Vertical Perspective

Horizontal Perspective
Rotate

- If you need grid lines to guide you, tap the lines on the upper-left part of your photo.

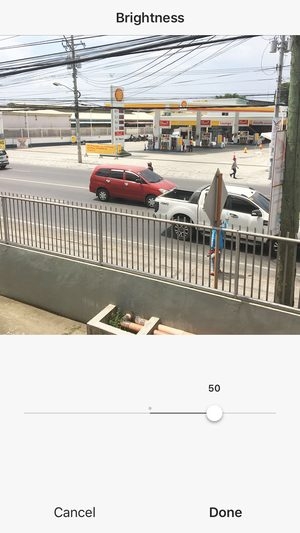
Brightness
Move the slider to the right to brighten your photo. But if you think your photo is too bright, move the slider to the left to decrease the brightness.


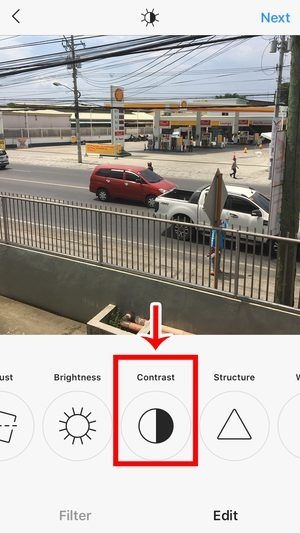
Contrast
If increasing the brightness of your photo brightens even the dark areas, increasing the contrast brightens only the bright areas and darkens the dark areas. Adjust your photo contrast until you achieve the look you desire.


Structure
If your photo is slightly out of focus, you can adjust the structure and bright out more details and texture.


- You can only adjust from 0 to 100. This tool is most helpful for landscape photos.
Warmth
Of course, you cannot resist adding some warm color on your photo. If you want to apply sepia tones, move the slider to the right and adjust accordingly.

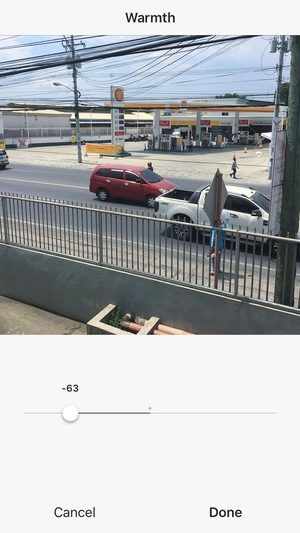
If you like cool colors, move the slider to the left and achieve blue tones.

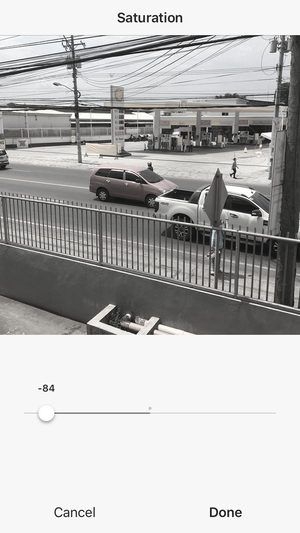
Saturation
This tool will increase or decrease the intensity of the colors on your photo.


Fade
You may achieve a faded and vintage look for your photo with this tool.


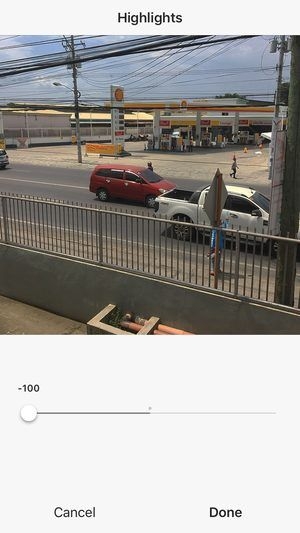
Highlights
This tool affects only the bright areas of your photo. Move the slider to the left or right to brighten or darken them.


Shadows
The Shadows tool is the opposite of the Highlights. This only affects the shadows in your photo.


- Highlight and Shadow tools can greatly emphasize the details on your photo.
Color
If you want to apply a tint to your photo, the Color tool “tints” the highlights or shadows in your photo.
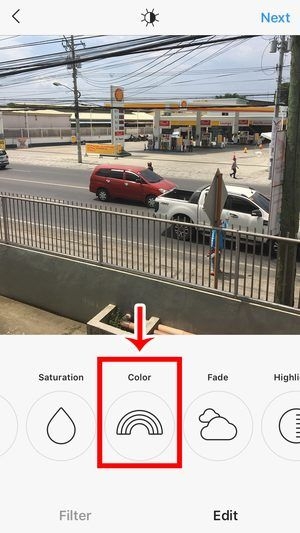


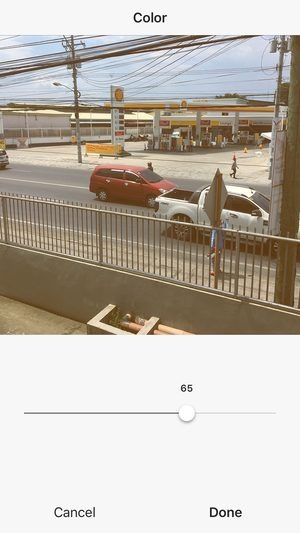
- Tap once more to adjust the color.
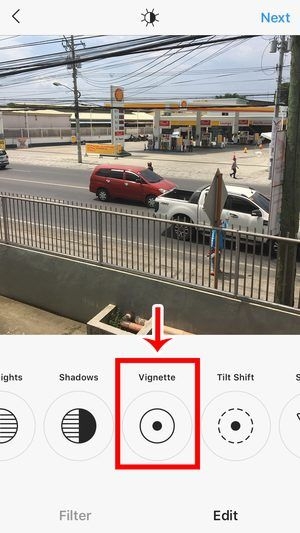
Vignette
This tool darkens the edges of your frame and emphasizes the center of your photo.

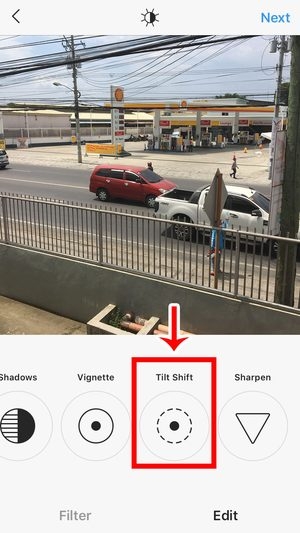
Tilt Shift
The Tilt Shift tool redirects the focus from one part of your photo to another. The “unimportant” details will be blurred out, putting emphasis on the subject.
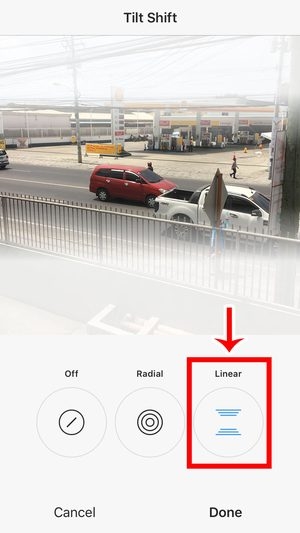
The Radial Tilt-Shift blurs the unnecessary parts of your photo with a circular guide.

The Linear Tilt-Shift provides a linear guide for blurring.
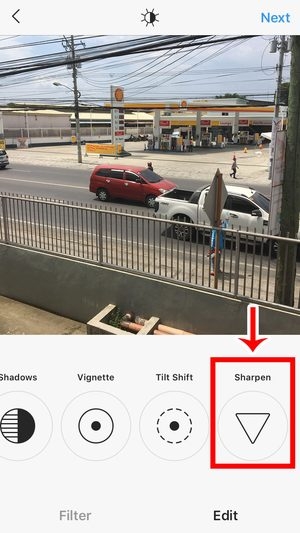
Sharpen
This tool sharpens the details on your photo and clarifies them.
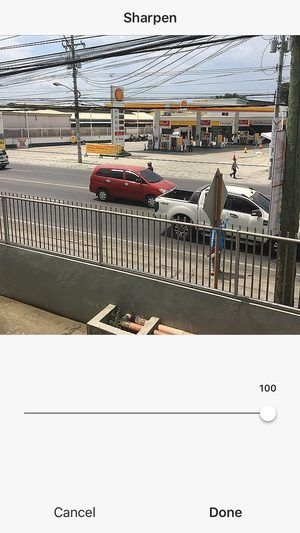
- After editing your photo, tap “Done” and you are now ready to share it to the world.

Post for your #FeedGoals
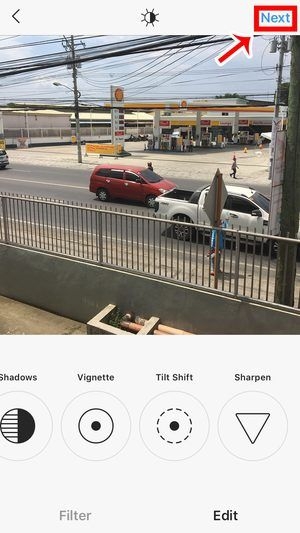
1. Tap “Next” after you have edited your photo.
2. Before posting your photo, you can add a caption, tag other Instagram users, and geotag it.

- After the final touches, tap “Share”.

3. Check your profile.

Edit to perfection!
Brightness, contrast, colors, and perspective? There’s so much you can do with your photos! If you’re aiming for that “aesthetically pleasing” Instagram feed, you don’t need to worry since Instagram’s editing tools can obviously take you there. Don’t forget to explore and try different tools. And no need to be scared to experiment! Snap a photo, edit, and find your style, and then post!


